


|
|
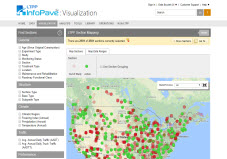
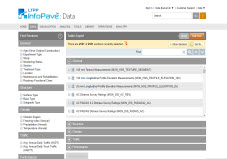
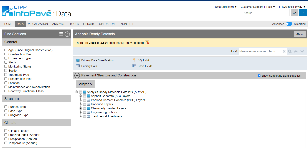
Manual Distress Survey Viewer
Distress Viewer helps the user view Distress Maps for any section. Distress Maps collected during multiple distress surveys are available for each section. The Distress Maps for each section are divided into 10 segments, and each segment is 50 feet long. Distress viewer allows users to compare one segment of a section among the different surveys collected throughout the monitoring period.
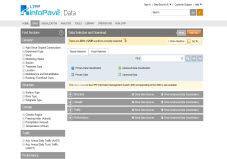
Selected Section:State/Province:Section:Section Information:

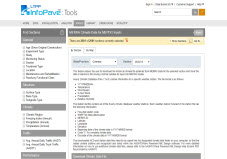
Disclaimer: Due to legacy technology limitations, these images may be cropped at a position that might eliminate hand-written comments. Please download the Distress Maps (PDF) file from the following link to view the full distress map. Survey Age:
Construction Number:
Construction Date:
Construction Description:
Experiment Description:
Distress Maps (PDF):
|

Manual Distress Survey Viewer
Welcome to Manual Distress Survey Viewer help tour. During this help tour, you will learn how to view distress information surveyed in the field for LTPP sections. With just a few clicks through this tour, you’ll be ready to examine and compare the distress maps from LTPP Manual Distress Surveys. Ready?
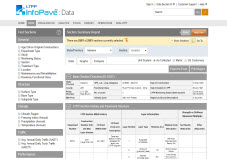
Find Sections
Under the “Find Sections” panel on the left hand side of your screen, there are a number of filters that can assist you in narrowing down your search for LTPP sections. These filters include General information, Structure, Climate, Traffic, and Performance filters.
If you point your mouse over each filter, you will see a description that explains how each filter works. For example, you can find sections that are more than 25 years old using the Age filter.
Filter Menu
In the “Find Sections” panel bar, you will see different options under filter menu. If you filter your search criteria using “Find Sections,” you can save your filters by clicking on the “Save Filters” option in the “Filter Menu”. When you click on the “Save Filters” menu option, a new window will appear asking you to name your set of filters.
You can then open the saved filters by clicking on the “Open Filters” option in the “Filter Menu.” When you open a saved set of filters, InfoPave will automatically apply your saved filters.
Section Information Bar
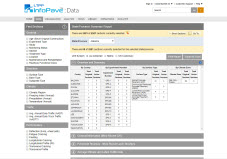
Section information bar shows the number of selected sections which have been filtered using the "Find Sections" panel. Other available options are "Show Sections" and "Go To…". The "Show Sections" button allows you to see the list of your selected sections and corresponding general information within each state or province.
The "Go To…" feature provides quick access and switching capability among a series of InfoPave features such as Maps, Section Summary Report, Section Timeline, Pavement Cross-Section Viewer and others. For example, you can locate the sections on a map or visualize data to make sure that you have selected the sections you had in mind.
State/Province and Section
Select a specific state or province of your interest from the State/Province menu. Then, use the “Section” drop-down menu to choose a specific section within the specific state or province.
For Example: When no filters are applied and Texas is selected under State/Province, the first section that appears in the “Section” drop-down menu is 48-0001. Here, 48 is the state code for Texas and 0001 is the SHRP ID (Section ID).
Remember: Only those sections that pass all applied filters will appear in the drop-down menus.
Legend
Two symbols are included in the legend.
The red vertical line with a diamond near the top represents construction numbers. This symbol indicates when maintenance/rehabilitation events occurred throughout the pavement’s LTPP monitoring period.
The blue vertical line with a diamond near the bottom represents surveys. This symbol indicates when distress surveys were performed throughout the pavement’s LTPP monitoring period.
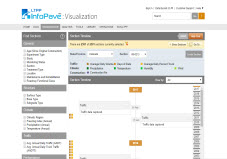
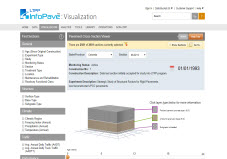
View Distresses
If you select the View Distresses tab, you will find the section details and distress map of the previously selected section. The section details and distress map are specific to the survey date currently displayed.
Section details include survey age, construction number, construction date, and construction description. The survey date is also displayed on the right side of this information bar.
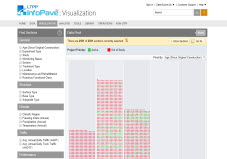
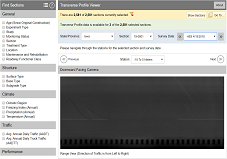
Distress Map
The distress map is the graphical view of distresses.
Two Buttons (Previous and Next) are included above the distress map, and a time slider bar is included below the distress map.
Previous and Next
Each map represents 50 feet of the test section. If you click next, you will see the distress map for the next 50 feet along the length of the test section.
Time Slider Bar
You can control the survey date by using previous, play, stop, and next buttons under the slider bar. Additionally, you can change the survey date by clicking and dragging the slider.
The red and blue symbols along the slider bar indicate when maintenance/rehabilitation occurred and surveys were performed throughout the pavement’s LTPP monitoring period, respectively.
If you point your mouse over these red and blue symbols on the slider bar, InfoPave will also show construction and survey information.
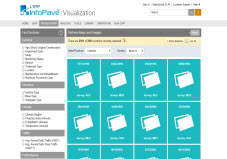
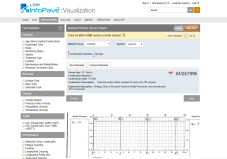
Compare Distresses
If you select the “Compare Distresses” tab, you will see different dates when the section was surveyed throughout the pavement’s LTPP monitoring history.
You can select different survey dates to compare the distress maps side by side and observe how distresses change throughout the pavement’s LTPP monitoring history.
Survey Dates
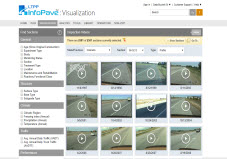
If you select two dates, two distress maps will appear on the screen. These two distress maps display the same 50 feet of the test section at the two different times selected from the survey dates.
Click on Previous/Next tab on the distress map to change the location along the pavement length.


