|
|
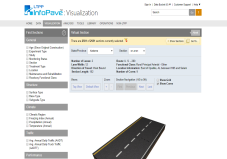
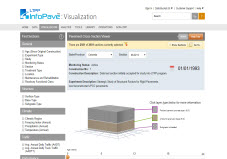
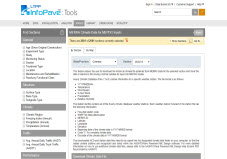
Pavement Cross-Section Viewer
Selected Section:State/Province:Section:Section Information:Monitoring Status:
Construction No:
Construction Description:
Experiment Description:
Click layer type below for more information.
Age (Years)
Construction Number (CN) indicating maintenance and/or rehabilitation events.


|
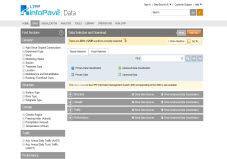
 Data Selection and Download
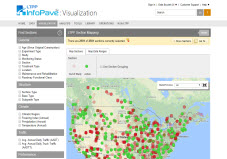
 Explore Geospatial Analysis
 Section Summary Report
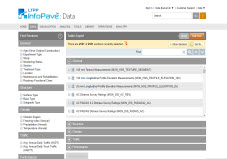
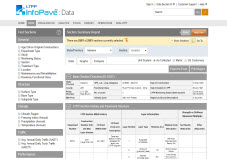 Table Export
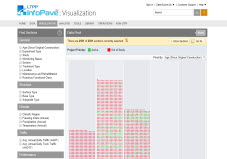
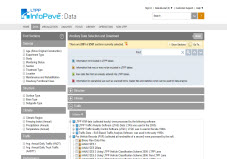
 Section Timeline
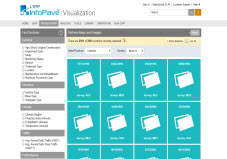
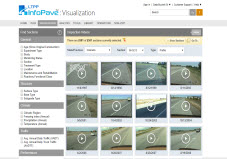
 Distress Maps and Images
 View Inspection Videos
 Data Pivot
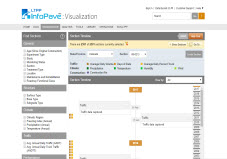
 Pavement Cross-Section Viewer
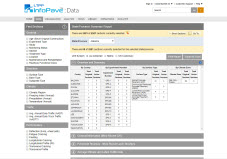
 Manual Distress Survey Viewer
 Ancillary Data Selection
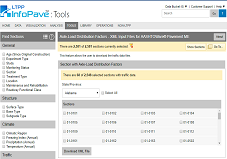
 Axle-Load Distribution Factors
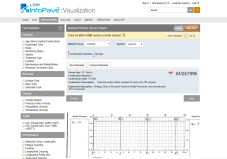
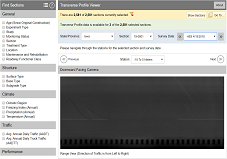
 Transverse Profile Viewer
 State Summary Report
 MERRA Data for MEPDG Inputs
 Analysis Ready Datasets
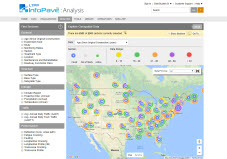
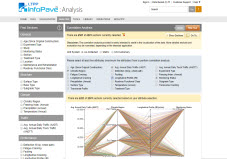
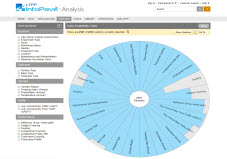
 Correlation Analysis
 Data Availability
 Virtual Section